
Tree Removal & Stump Grind - Rockford, MI
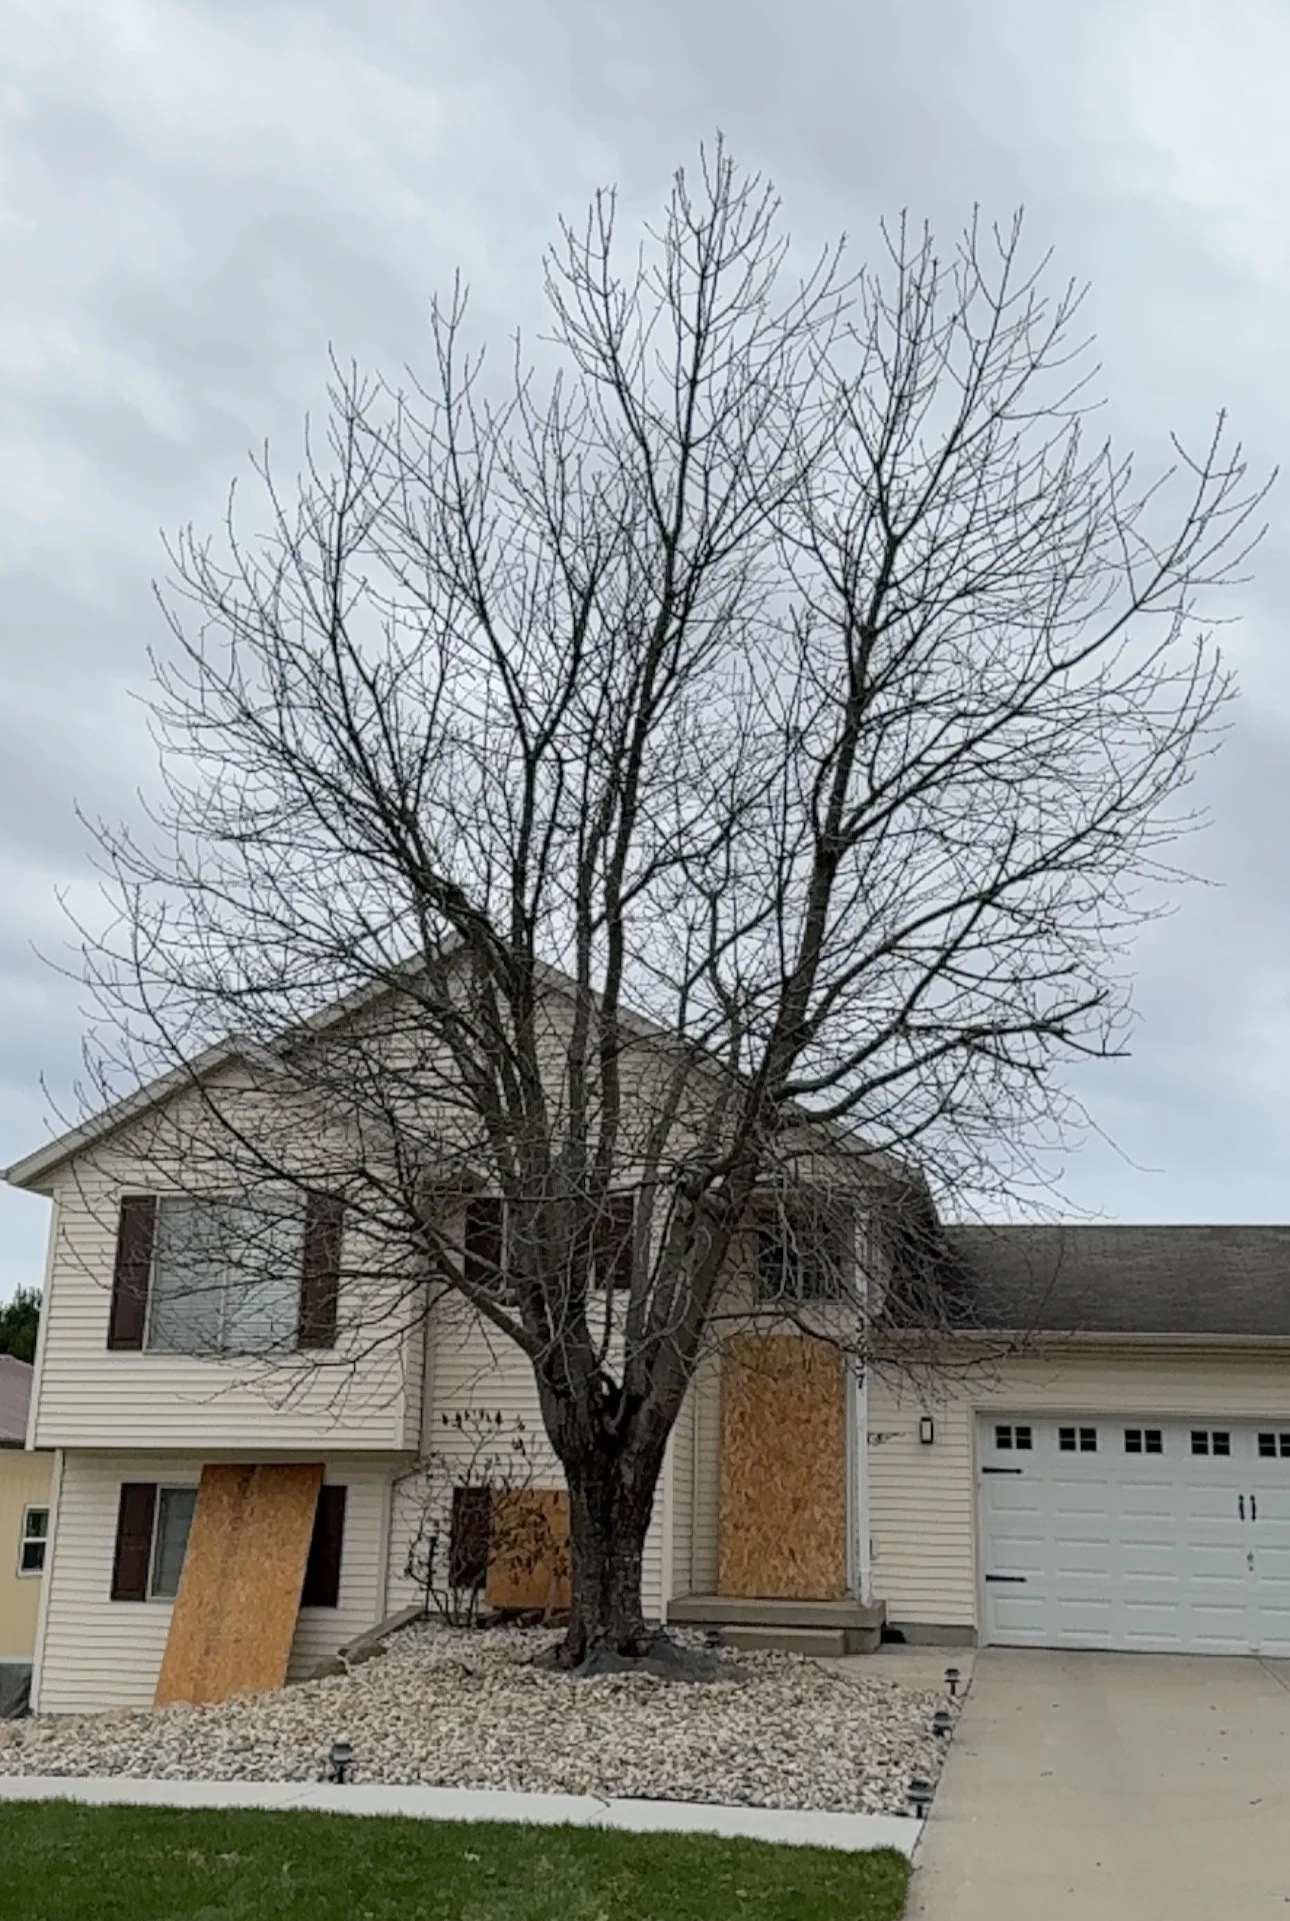
Here is our starting point.
Removing a tree and grinding the stump is a multi-step process that combines safety, efficiency, and attention to landscape restoration. Whether a tree is diseased, hazardous, poorly placed, or simply part of a property redesign, understanding what’s involved helps homeowners set expectations, prepare the site, and ensure the job is done right.
Why remove the tree and grind the stump?
Safety: Dead or unstable trees can fall and damage property or injure people.
Health: Diseased trees can spread pests or pathogens to nearby plants.
Aesthetics and function: Stumps can be eyesores, interfere with mowing, landscaping, or construction.
Prevent regrowth: Grinding removes the root collar and most of the stump to reduce chances of sprouting.
Overview of the process
Site assessment and planning
Inspect the tree: species, size, health, lean, structural defects, proximity to structures/power lines, and nearby landscaping.
Determine access: Can equipment reach the tree? Will cranes, aerial lifts, or other machinery be needed?
Prep the site for work.
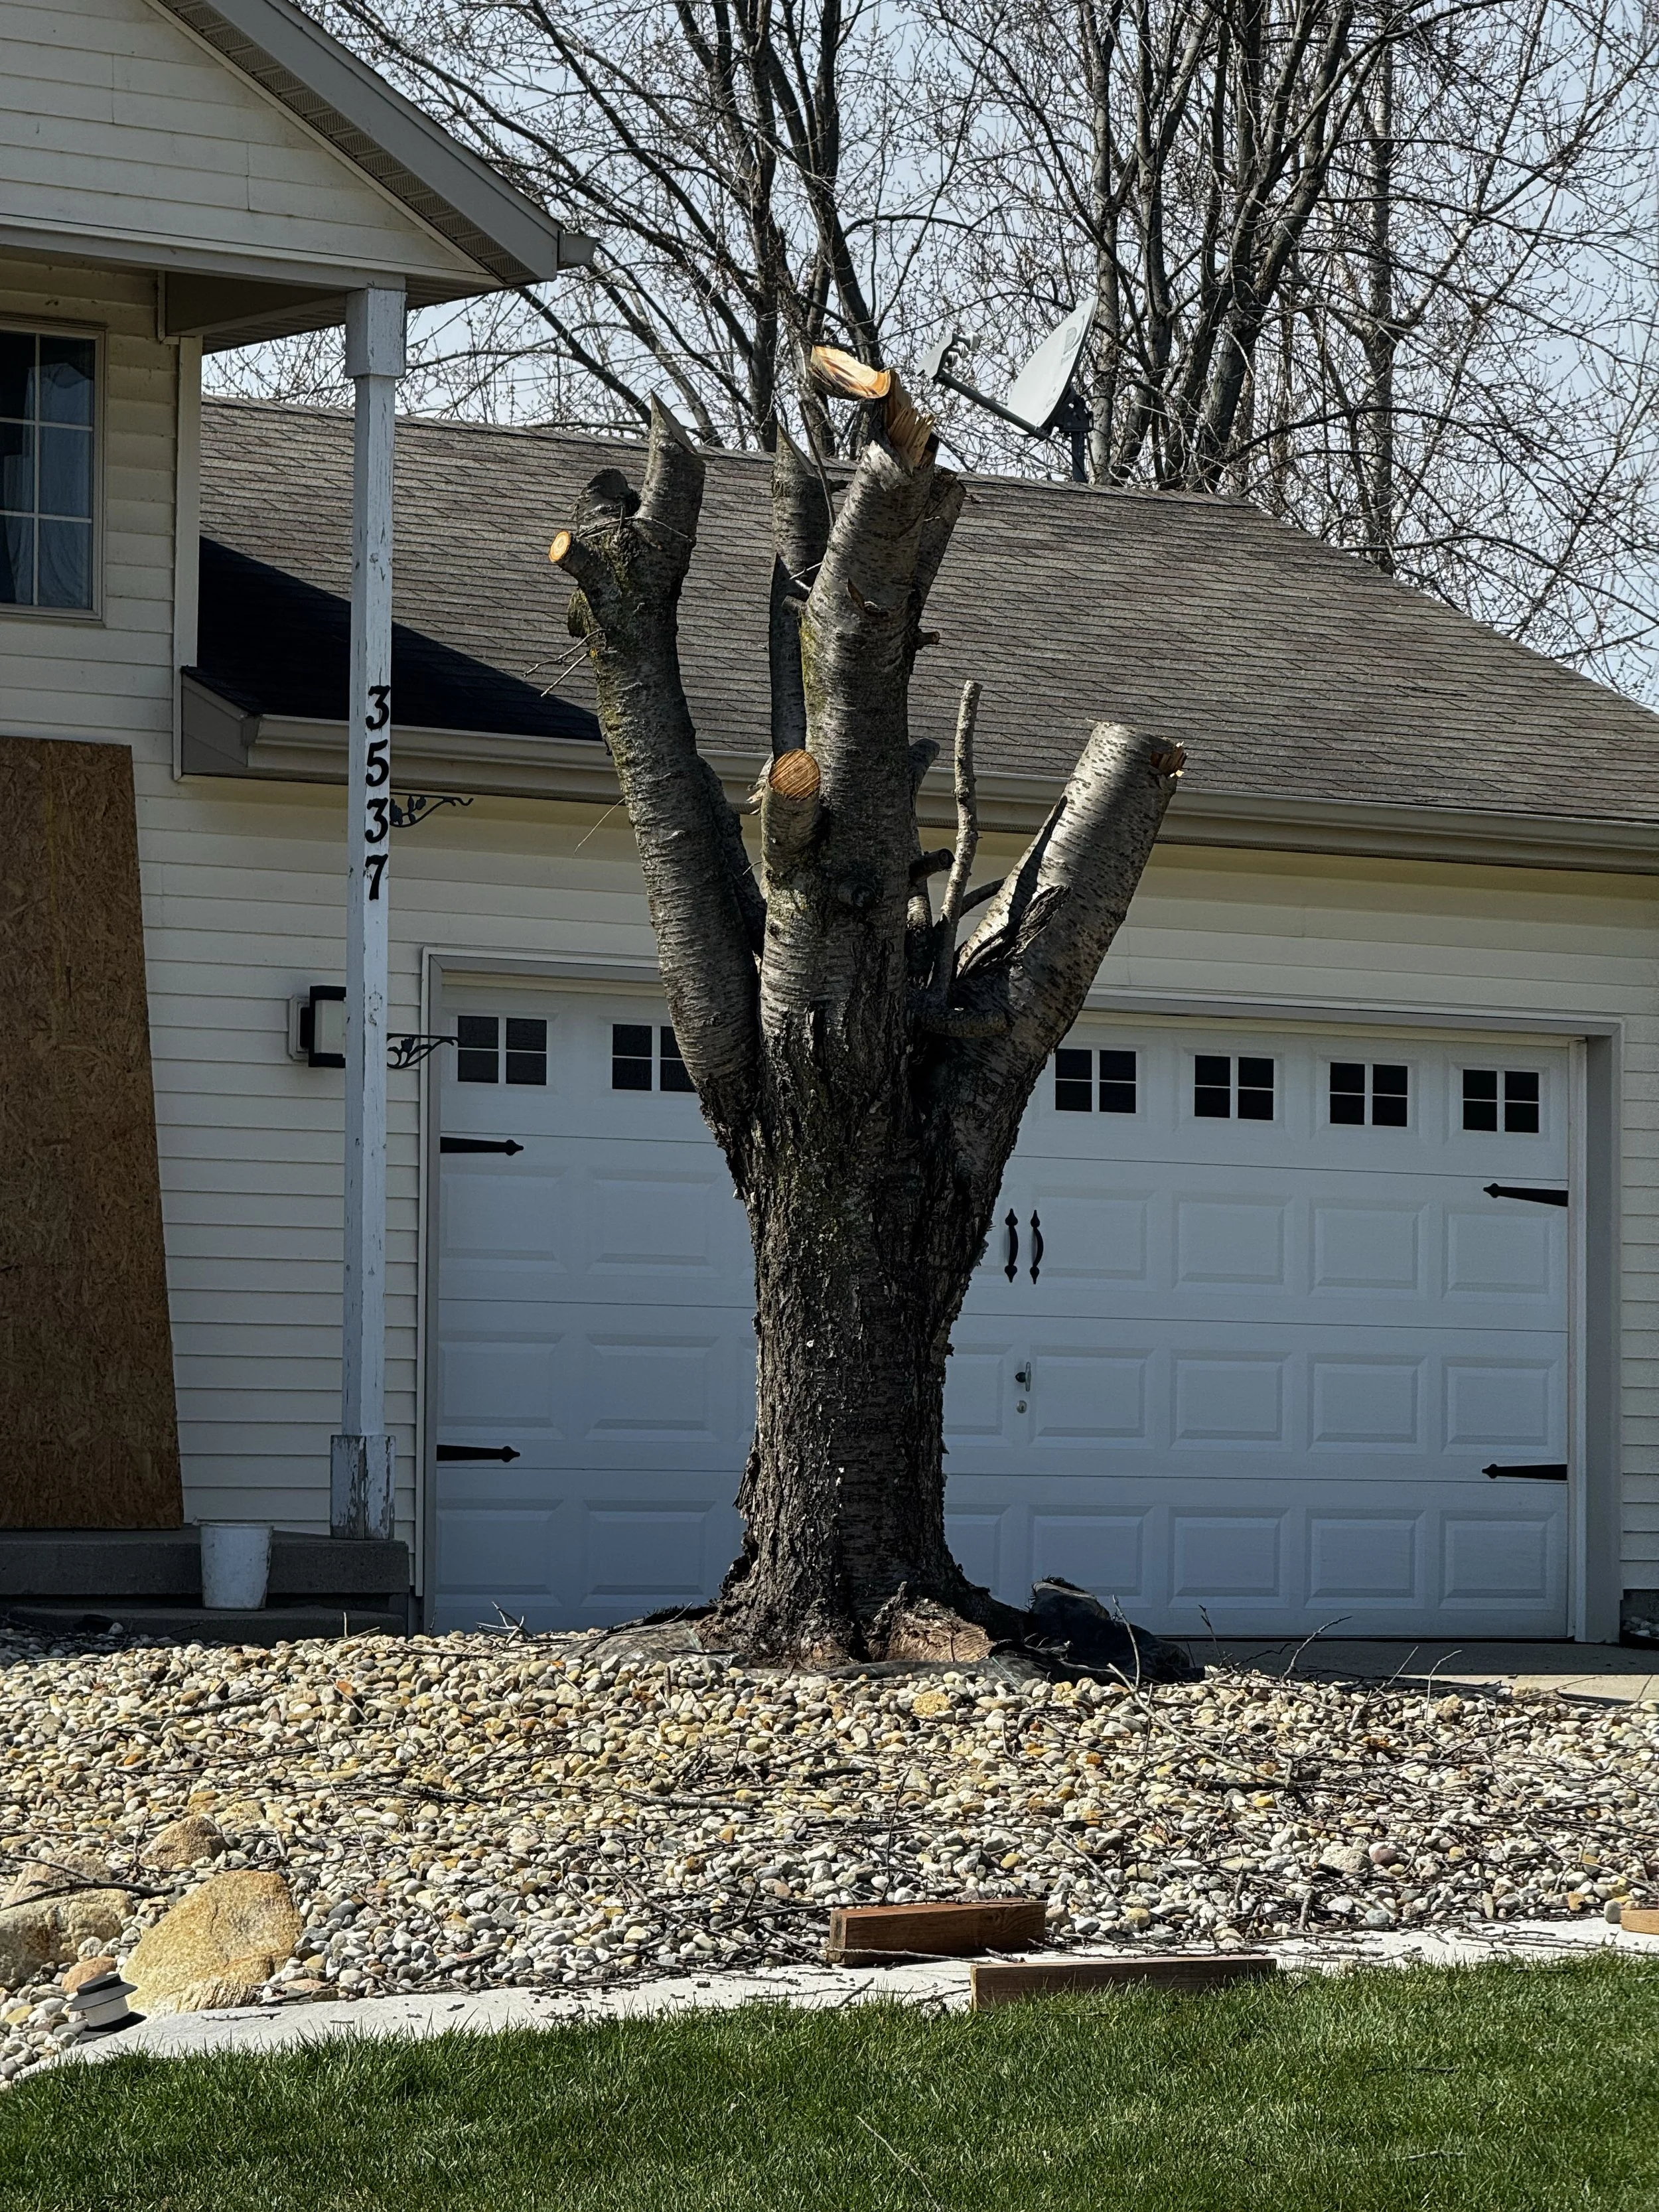
Progress…
Step 2 — Cut Off the Larger Tree Limbs
Assess and plan before cutting: Stand back and identify which large limbs need removal to improve tree health, clearance, or safety. Note the limb’s size, angle, weight, and where it will fall. Confirm escape routes for yourself and any helpers in case the limb falls unpredictably.
Use the right tools and safety gear: For limbs up to about 6–8 inches in diameter, a pruning saw or folding saw is appropriate. Larger limbs require a pole saw, chainsaw, or professional equipment. Always wear a hard hat, safety glasses, gloves, long sleeves, and sturdy boots. If using a chainsaw, add hearing protection and chaps.
Make a three-cut technique for safe removal:
Undercut (relief cut): About 12–18 inches from the trunk (or at the desired final cut point) on the underside of the limb, cut roughly one-third of the way through. This prevents the bark from tearing when the limb falls.
Top cut (felling cut): A few inches farther out from the undercut, saw from the top down until the limb breaks free and falls. The undercut will stop bark ripping.
Final cut (collar cut): Remove the remaining stub by cutting just outside the branch collar (the slightly raised ring where the branch meets the trunk). Do not cut into the branch collar; make a smooth cut so the tree can properly heal.
Control the fall of the limb: For very large or awkward limbs, use ropes to guide the direction of the fall. Have a spotter to watch for hazards. Never stand directly under a limb that’s about to be cut.
Work in sections if necessary: For long or heavy limbs, cut them into manageable lengths, starting from the outer tip and working inward. This reduces weight and makes handling safer.
Inspect the cut and treat as needed: After removal, check the wound. Clean cuts just outside the branch collar promote faster healing. Avoid filling with sealants unless specifically recommended for a particular species or situation.
Know when to call a pro: If a limb is above structures, power lines, or is too large or awkward to control safely, hire a professional arborist or tree service. Cutting large limbs can be dangerous and may require specialized rigging, cranes, or fall-protection equipment.
Follow these steps to remove large limbs safely and minimize damage to the tree and surrounding property.
Almost there!
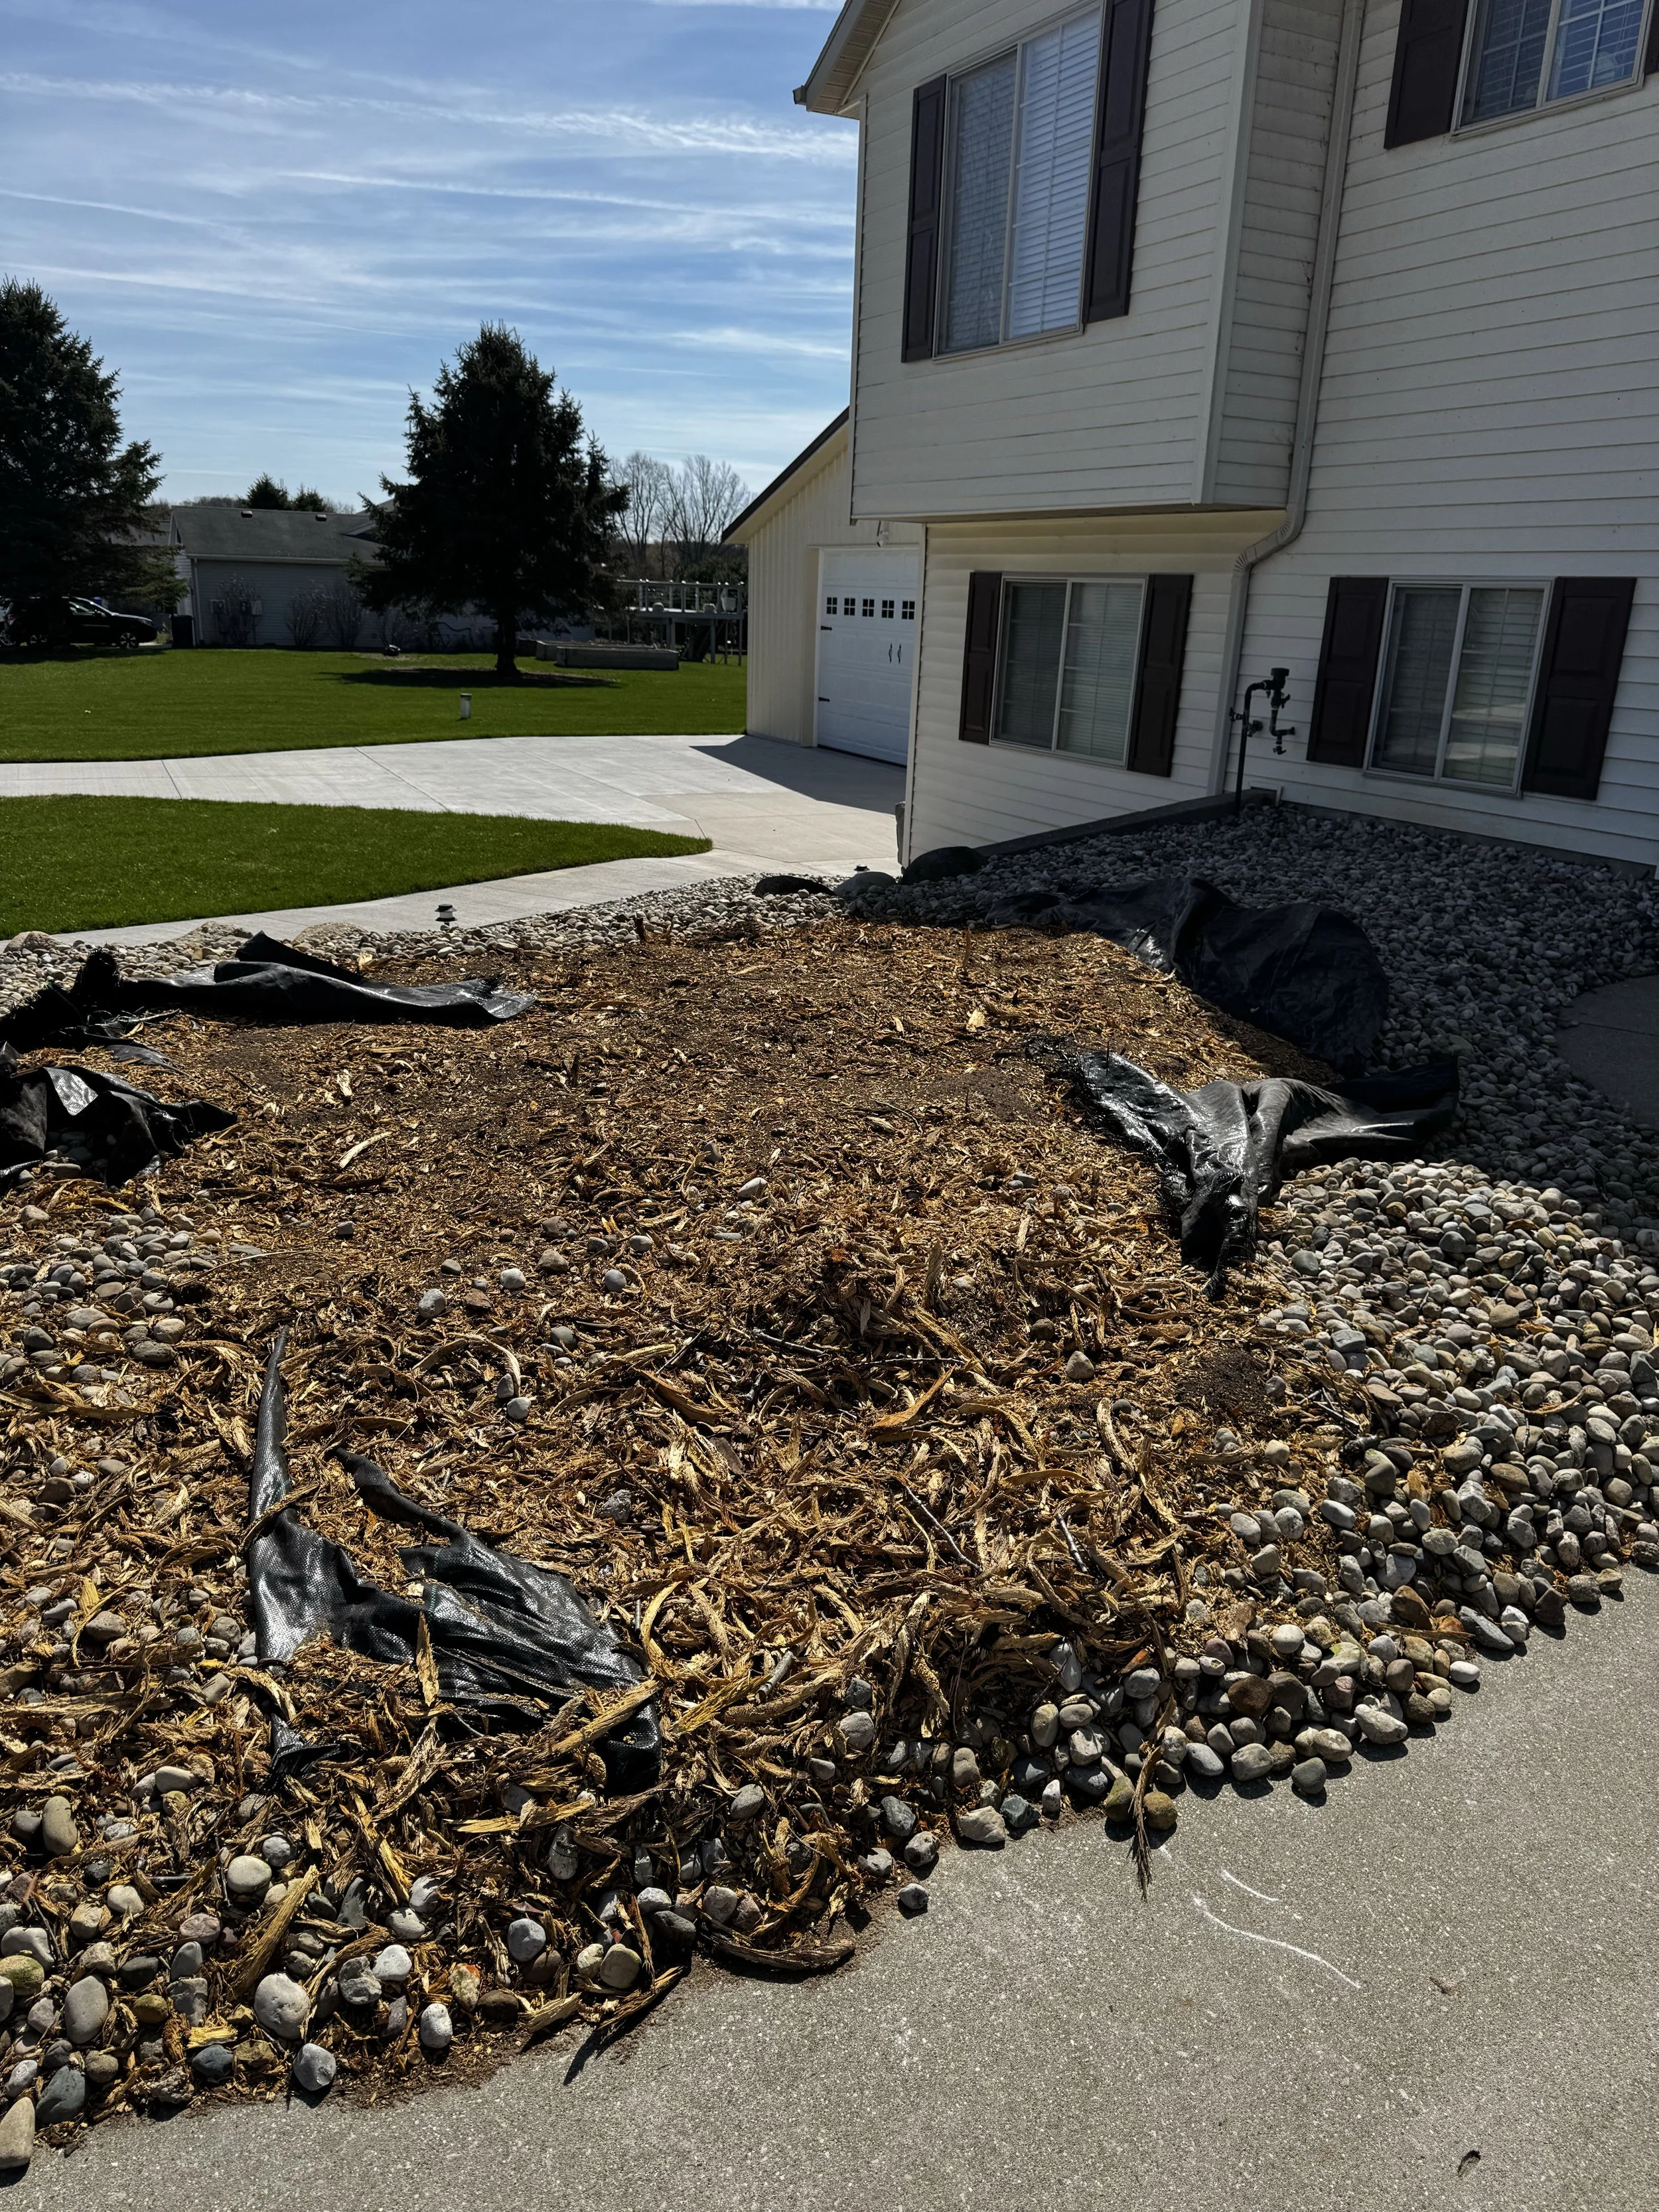
Step 3 — Stump Grinding
Clear the area around the stump of any rocks, debris, and low-hanging limbs. Position the grinder over the stump and start at the outer edge, gradually moving inward in overlapping passes. Keep the grinder’s cutting wheel angled slightly downward to carve the stump into small chips. Maintain steady, controlled movements and periodically stop to check depth and remove accumulated wood chips. Continue until the stump is ground down to the desired depth (typically 4–12 inches below grade for landscaping; deeper if required for construction). Rake the chips and remaining debris, and backfill the hole with soil or a mix of topsoil and wood chips as needed for finishing.
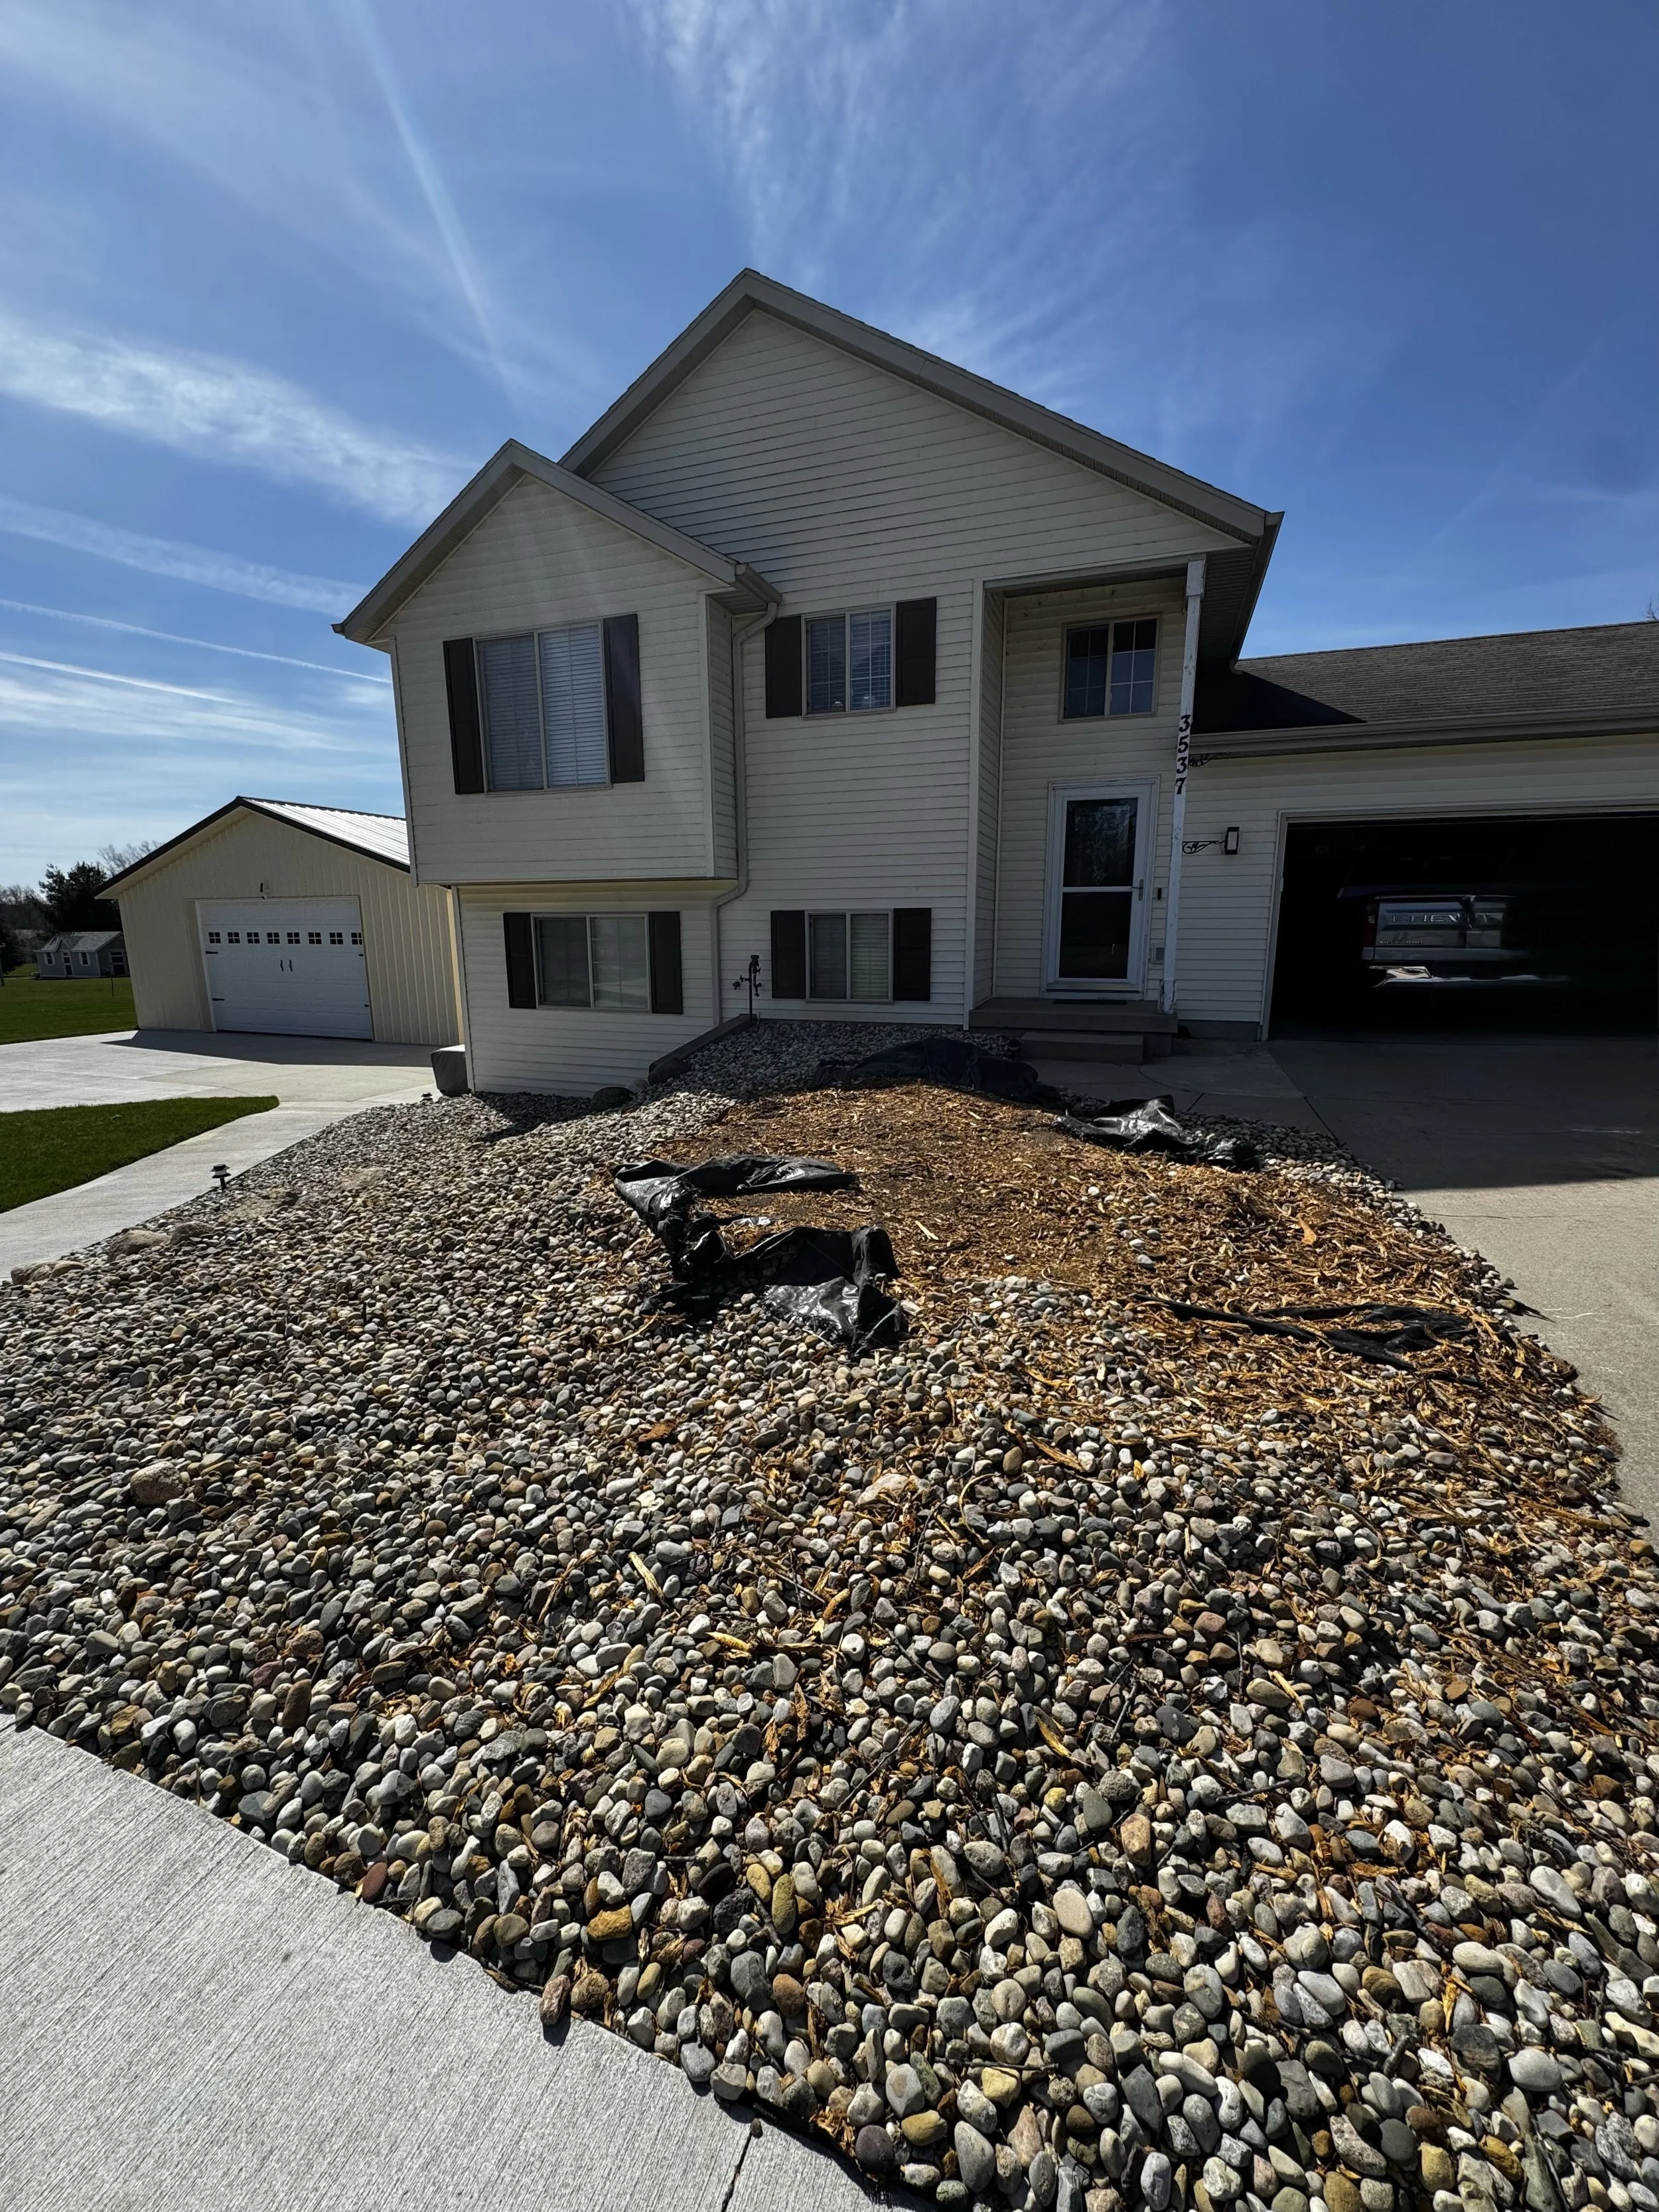
Finished!
And there you have it — a finished job.
The wood shavings were left on-site for the homeowner to move to a preferred spot for yard work. If you’d like, we can remove them for you, haul them away, or grind them into mulch and spread it around planting beds to retain moisture and suppress weeds. Let us know which option you prefer and we’ll schedule it at your convenience.